Creating Test/Quizzes
The Quizzes tool can be used to create quizzes, tests, and surveys, though they're
all called Quizzes within Canvas.
Additionally, some publishers have test banks that can be exported to Canvas and there
are third party tools (i.e. Respondus and TestGen) that can be used to help facilitate
test creation.
Create a Test
1. Enter the course in which you wish to create the test.
2. Click on the Quizzes Section of your course.
3. Click on the blue +Quiz on the top right corner.

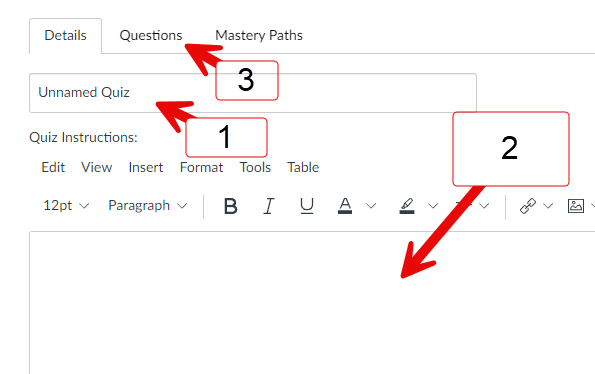
4. Once the test information has been entered, click the Questions tab to add questions to your quiz.
Create an Individual Test Question
To manually create questions inside of Canvas:
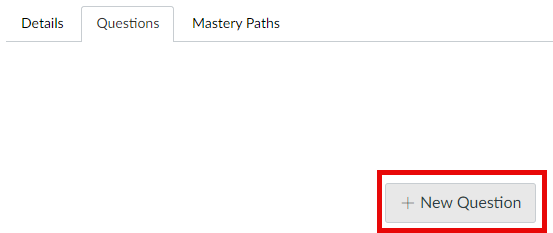
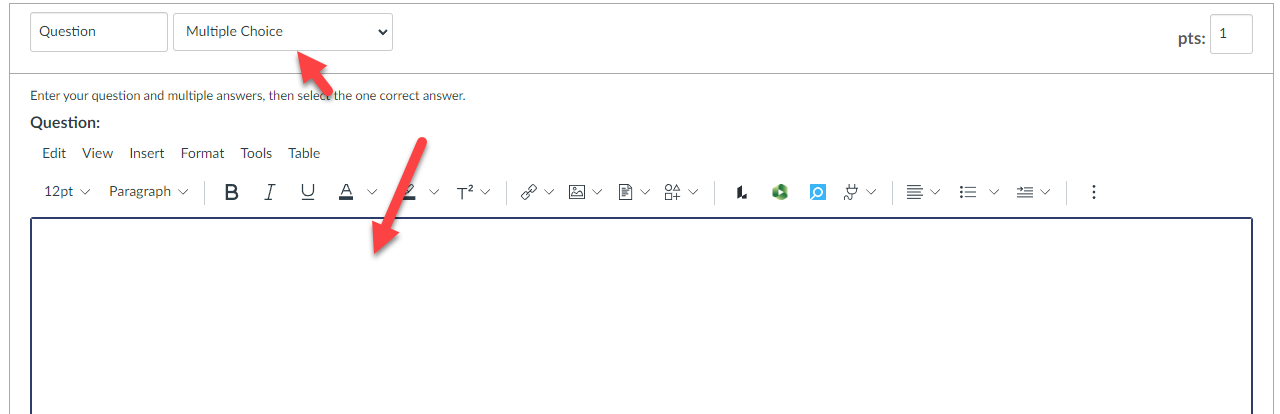
1. Click on the Question tab and click +New Question. Choose the question type that you will be adding to your course (for this example we will create a multiple choice question).
2. Within the "Create Question" window, enter the question text and complete the options (answer numbering, orientation, allow partial credit, random order).
3. Fill in the answers, and set the correct answer by setting the green arrow next to it..
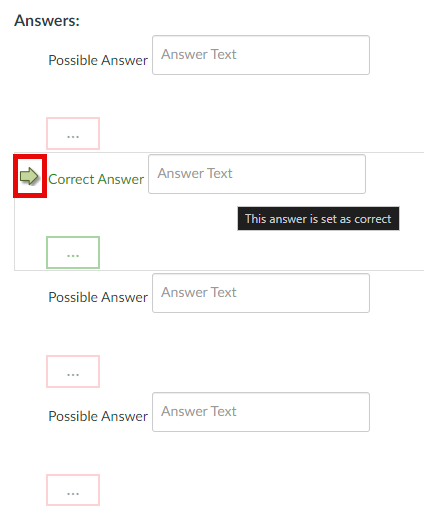
4. If you have any question feedback to provide to the students, add it in the boxes with the "..." inside of them.
5. You may also click Submit and Create Another to add another Multiple Choice question.
10. Repeat this process to create additional question to the test.
Add a Random Set of Questions from a Pool
Chances are if you imported questions into Canvas, you created a Question Bank. Using Banks, an instructor can add a random set of questions to a test.
1. From the Questions tab, click the + New Question Group button, and then select Link to a Question Bank.
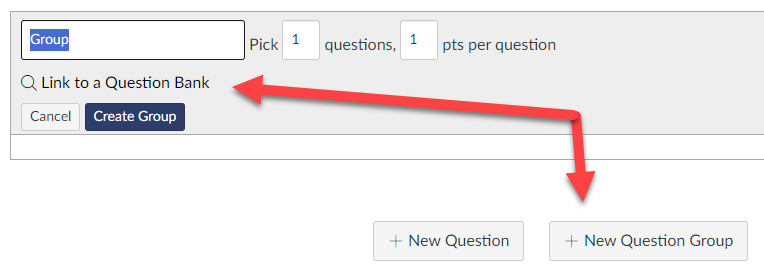
2. In the "Find Question Bank" window, your courses Question Banks will be available here..
3. Click the Question Bank you want to pull from, and click Select Bank.
4. Title your group if necessary, and select how many questions to pull from the bank, and how much each question is worth. Click Creat Group.
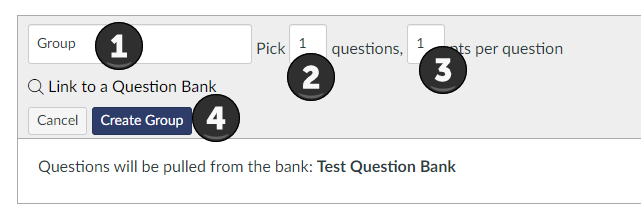
5. Once you have selected question settings, click on the Create Group button to add the questions to the test.
For additional support, email ttlctraining@uhd.edu.